The yarn for this jumper was a hand-me-down from a stash clear out someone who knew I knitted was having. I know that’s a little vague, but when people know you enjoy knitting and think you are more likely to use the yarn than them, you end up with lots of materials with endless potential to become something beautiful. In this case I ended up with about 500g of orange, brown, purple and jewel-tone teal blues aran weight 100% acrylic yarn.
Next, the Pattern...
This came from a vintage pattern booklet I found at Antiques on High in Oxford many years ago. The booklet is Patons woolcraft, The Basic Guide to Knitting and Crochet, 21st Edition, published by Patons and Baldwin Limited in 1981.
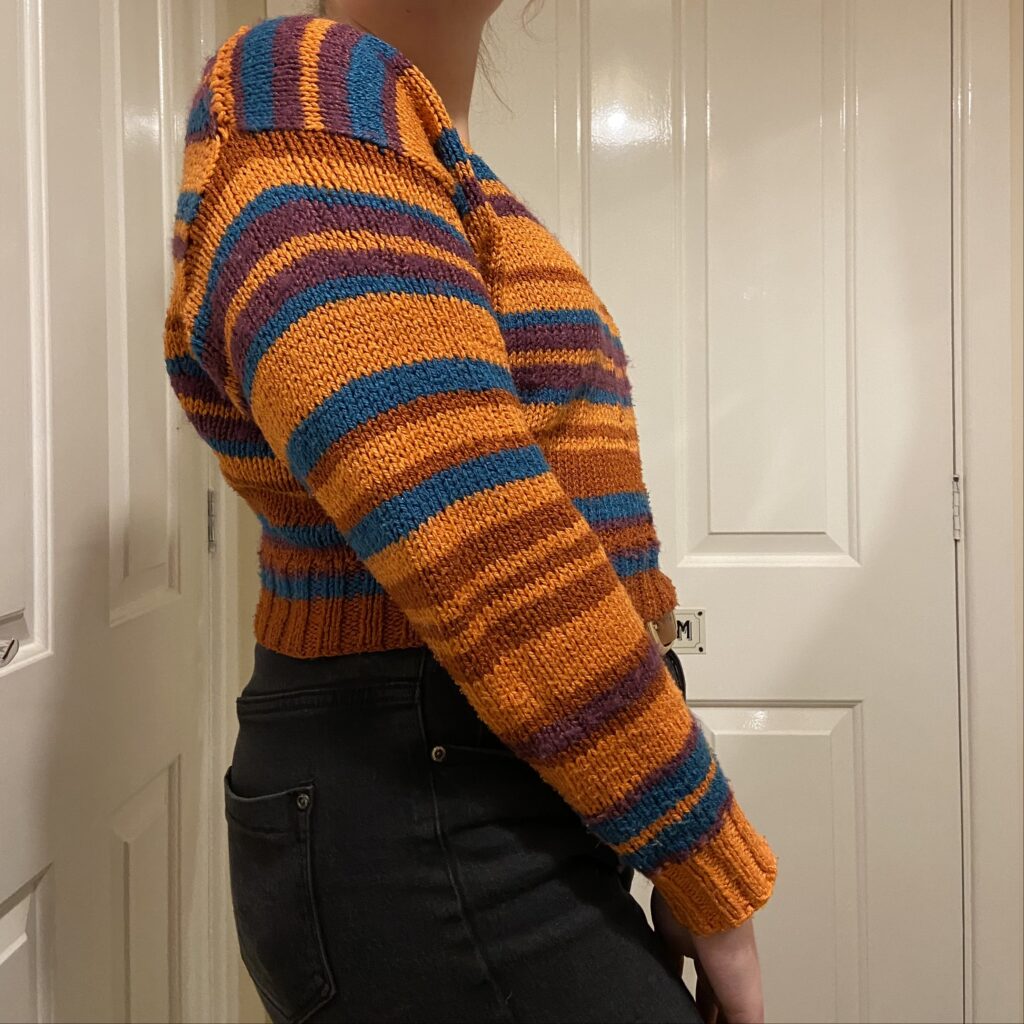
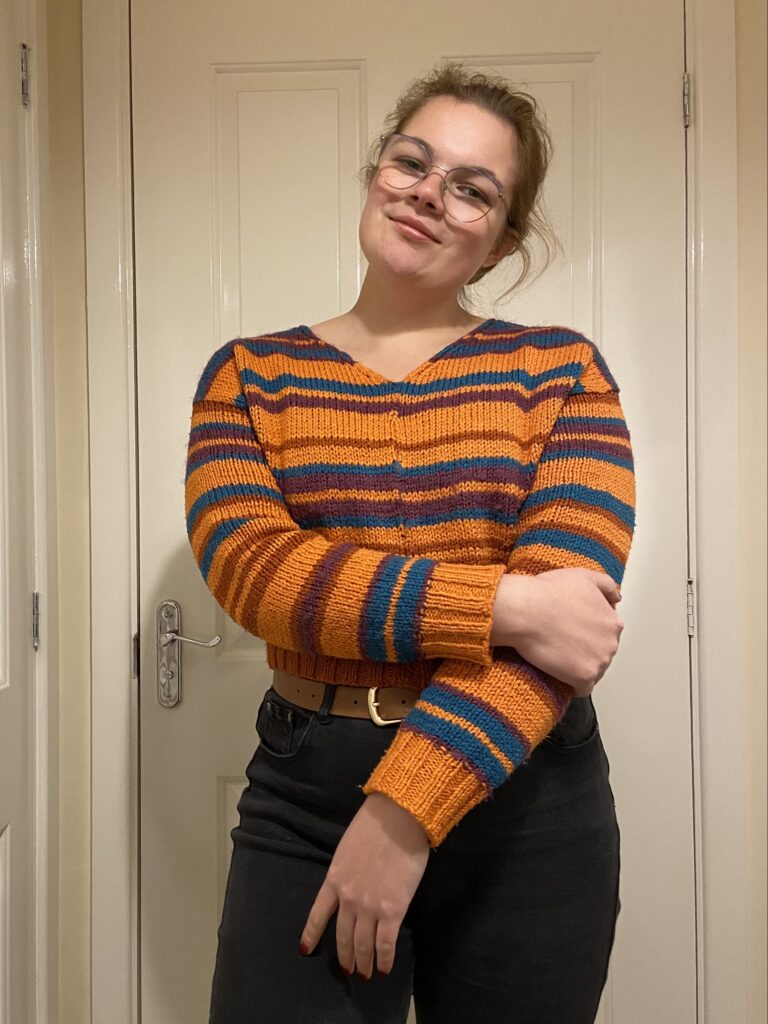
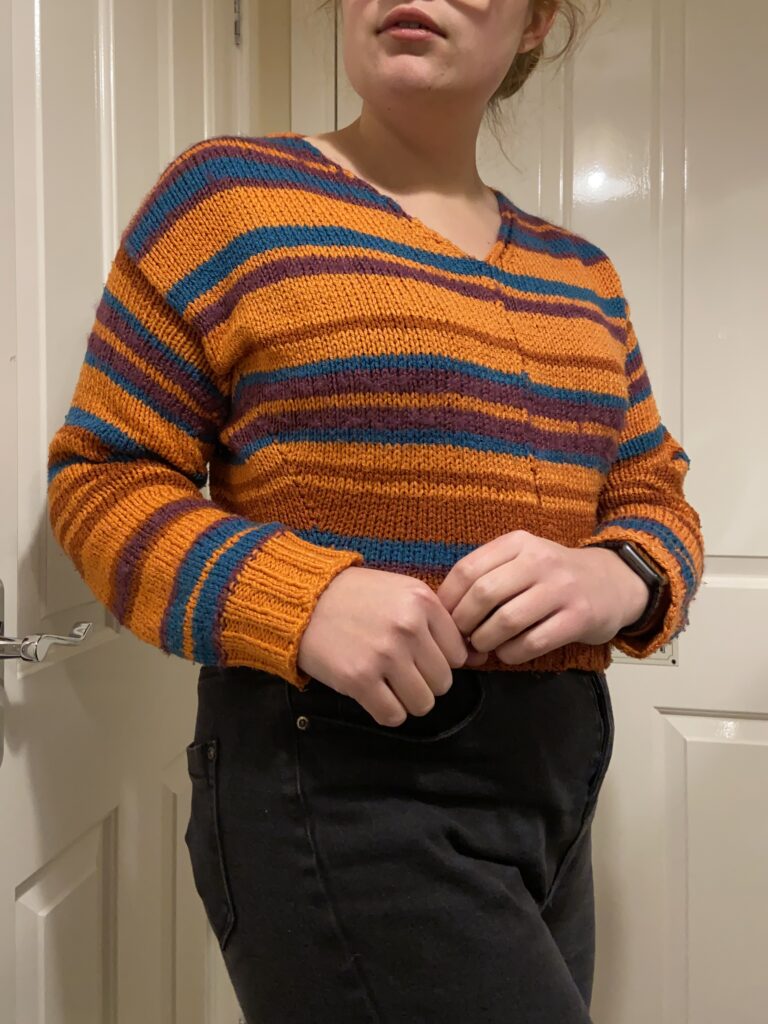
I based my project on the Knitted Spencer Pattern which is a fitted waist-length lightweight jumper with a v-neck, originally made in a garter stitch texture (all rows knitted) with Ribbing (K2, P2) at the cuffs and waist.
I love this pattern because it isn’t overly complicated and didn’t use a lot of abbreviations that I didn’t recognise at the time when I first made this jumper.
What did I change?
Firstly, the original pattern called for 3 ply weight yarn but I had Aran weight, so I made a tension square to measure the difference that this would cause to the dimensions given for the fit of the jumper. I then calculated the number of stitches I would need to start with and how much I would need to increase and decrease by to make the jumper fit, and what rate the increase would need to happen at. From this I then began to make the jumper.
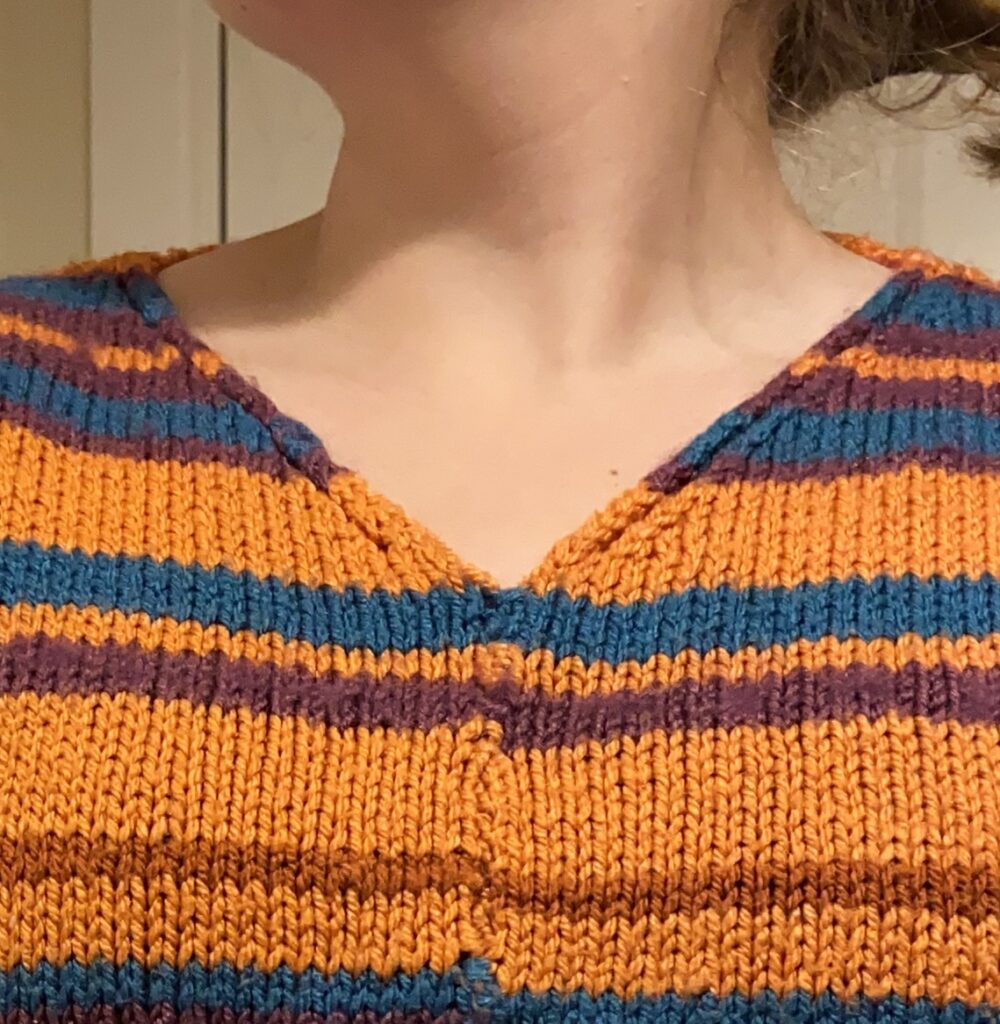
Given then random amounts of each of the balls of yarn I created a semi-regular pattern of alternating narrow and wide rows, shifting between the blue or purple and the brown, blending this to replace it with the orange higher on the jumper. Reflecting on this now, I think it would have looked better to more evenly distribute the darker tones of the brown with the almost-neon orange. The colour combination and pattern in my opinion looks a quite 70’s in style, which I love!
Changing the texture of the jumper to a stocking stitch (one row knit, next row purl) helped to make the stripes look cleaner and more clear as there isn’t any fragmented or blending rows visible from the outside of the jumper. Because I chose this texture, I got to a point where I had to completely undo the front on one side of the jumper because the way the decrease stitches looked when compared with the opposite side was very messy. On one side I knitted 2 stitches together and on the opposite side I slipped one stitch to the other needle then knitted the two stitches together. This meant that where I decreased the stitches the loops overlapped symmetrically on either side of the jumper.